cPanel Database Optimization
cPanel Database Optimization in phpMyAdmin helps improve website performance by reducing fragmentation and speeding up queries. 🚀 This step-by-step guide will show you how to optimize your database tables efficiently for better efficiency and faster load times! ✅
🔧 cPanel Database Optimization in phpMyAdmin – Step-by-Step Guide ✅
🔄 Optimize Database Tables:
📌 Steps:
1️⃣ Log in to phpMyAdmin:
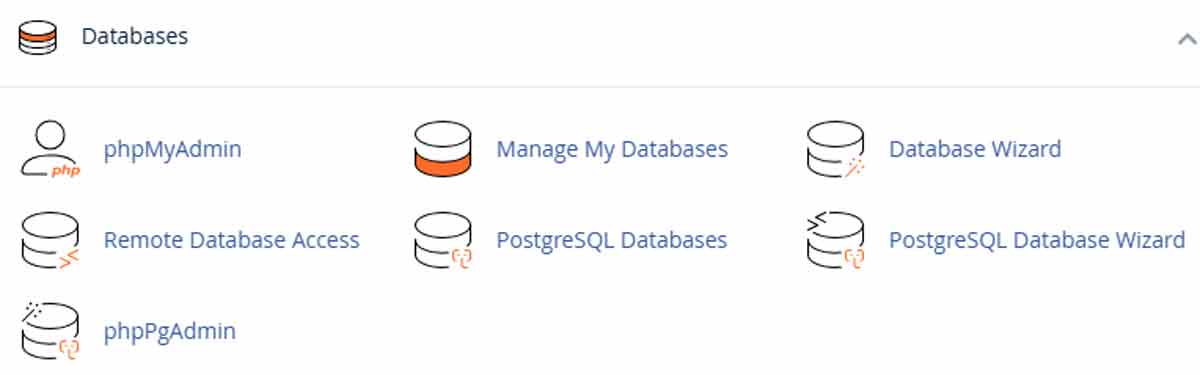
🔑 Open your hosting control panel & access phpMyAdmin.
cPanel Database Optimization
2️⃣ Select the Database:
🔍 Click on “phpMyAdmin”
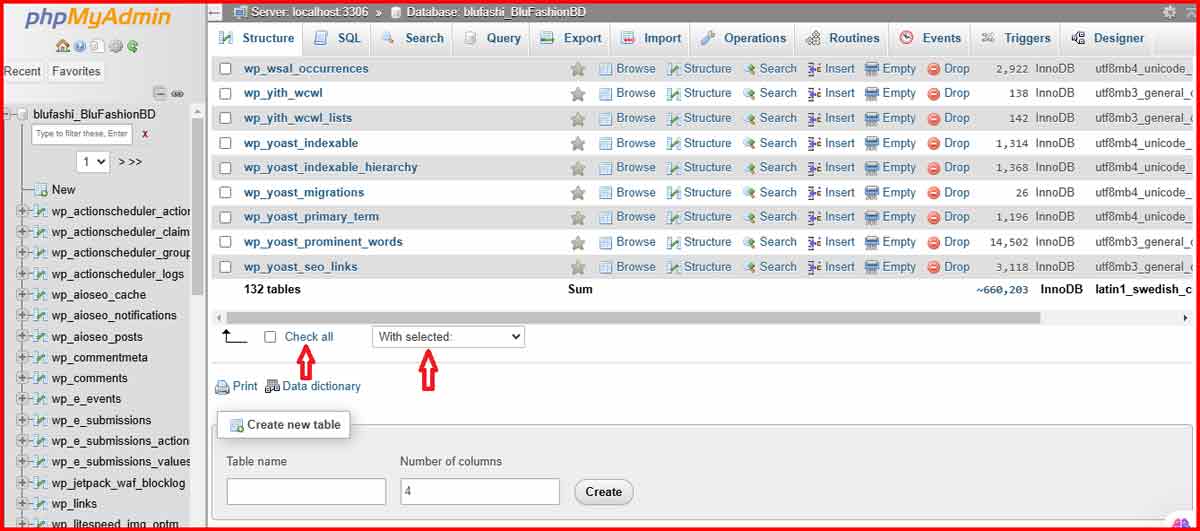
📂 Select your database from the left-hand panel inside phpMyAdmin.
3️⃣ Select Your Tables:
📌 After clicking on your database name in the left panel, all tables will be displayed in the main panel.
✅ Scroll down & click on “Check all” checkbox to select all tables.
🔄 Alternatively, select specific tables that you want to optimize.
MySQL Optimization in cPanel
4️⃣ Locate the “With selected:” Dropdown:
📌 At the bottom of the table list, you will see a “With selected:” dropdown menu.
🔽 Click on the dropdown to view the available options.
5️⃣ Choose “Optimize table”:
📊 From the dropdown menu, look for “Optimize table” and click on it.
⚡ phpMyAdmin will now optimize the selected tables.
6️⃣ Confirmation Message:
🎉 After the optimization process is completed, a success message will appear, such as:
✅ “Your SQL query has been executed successfully.”
✅ Done! Your database is now optimized for better performance. 🚀
#cPanel #DatabaseOptimization #phpMyAdmin #MySQLOptimization #WebsitePerformance #SpeedUpWebsite #OptimizeDatabase #WebHosting #SQLPerformance #SiteSpeed